DIY Guide: Cell Phone Screen Replacement Made Easy
MA
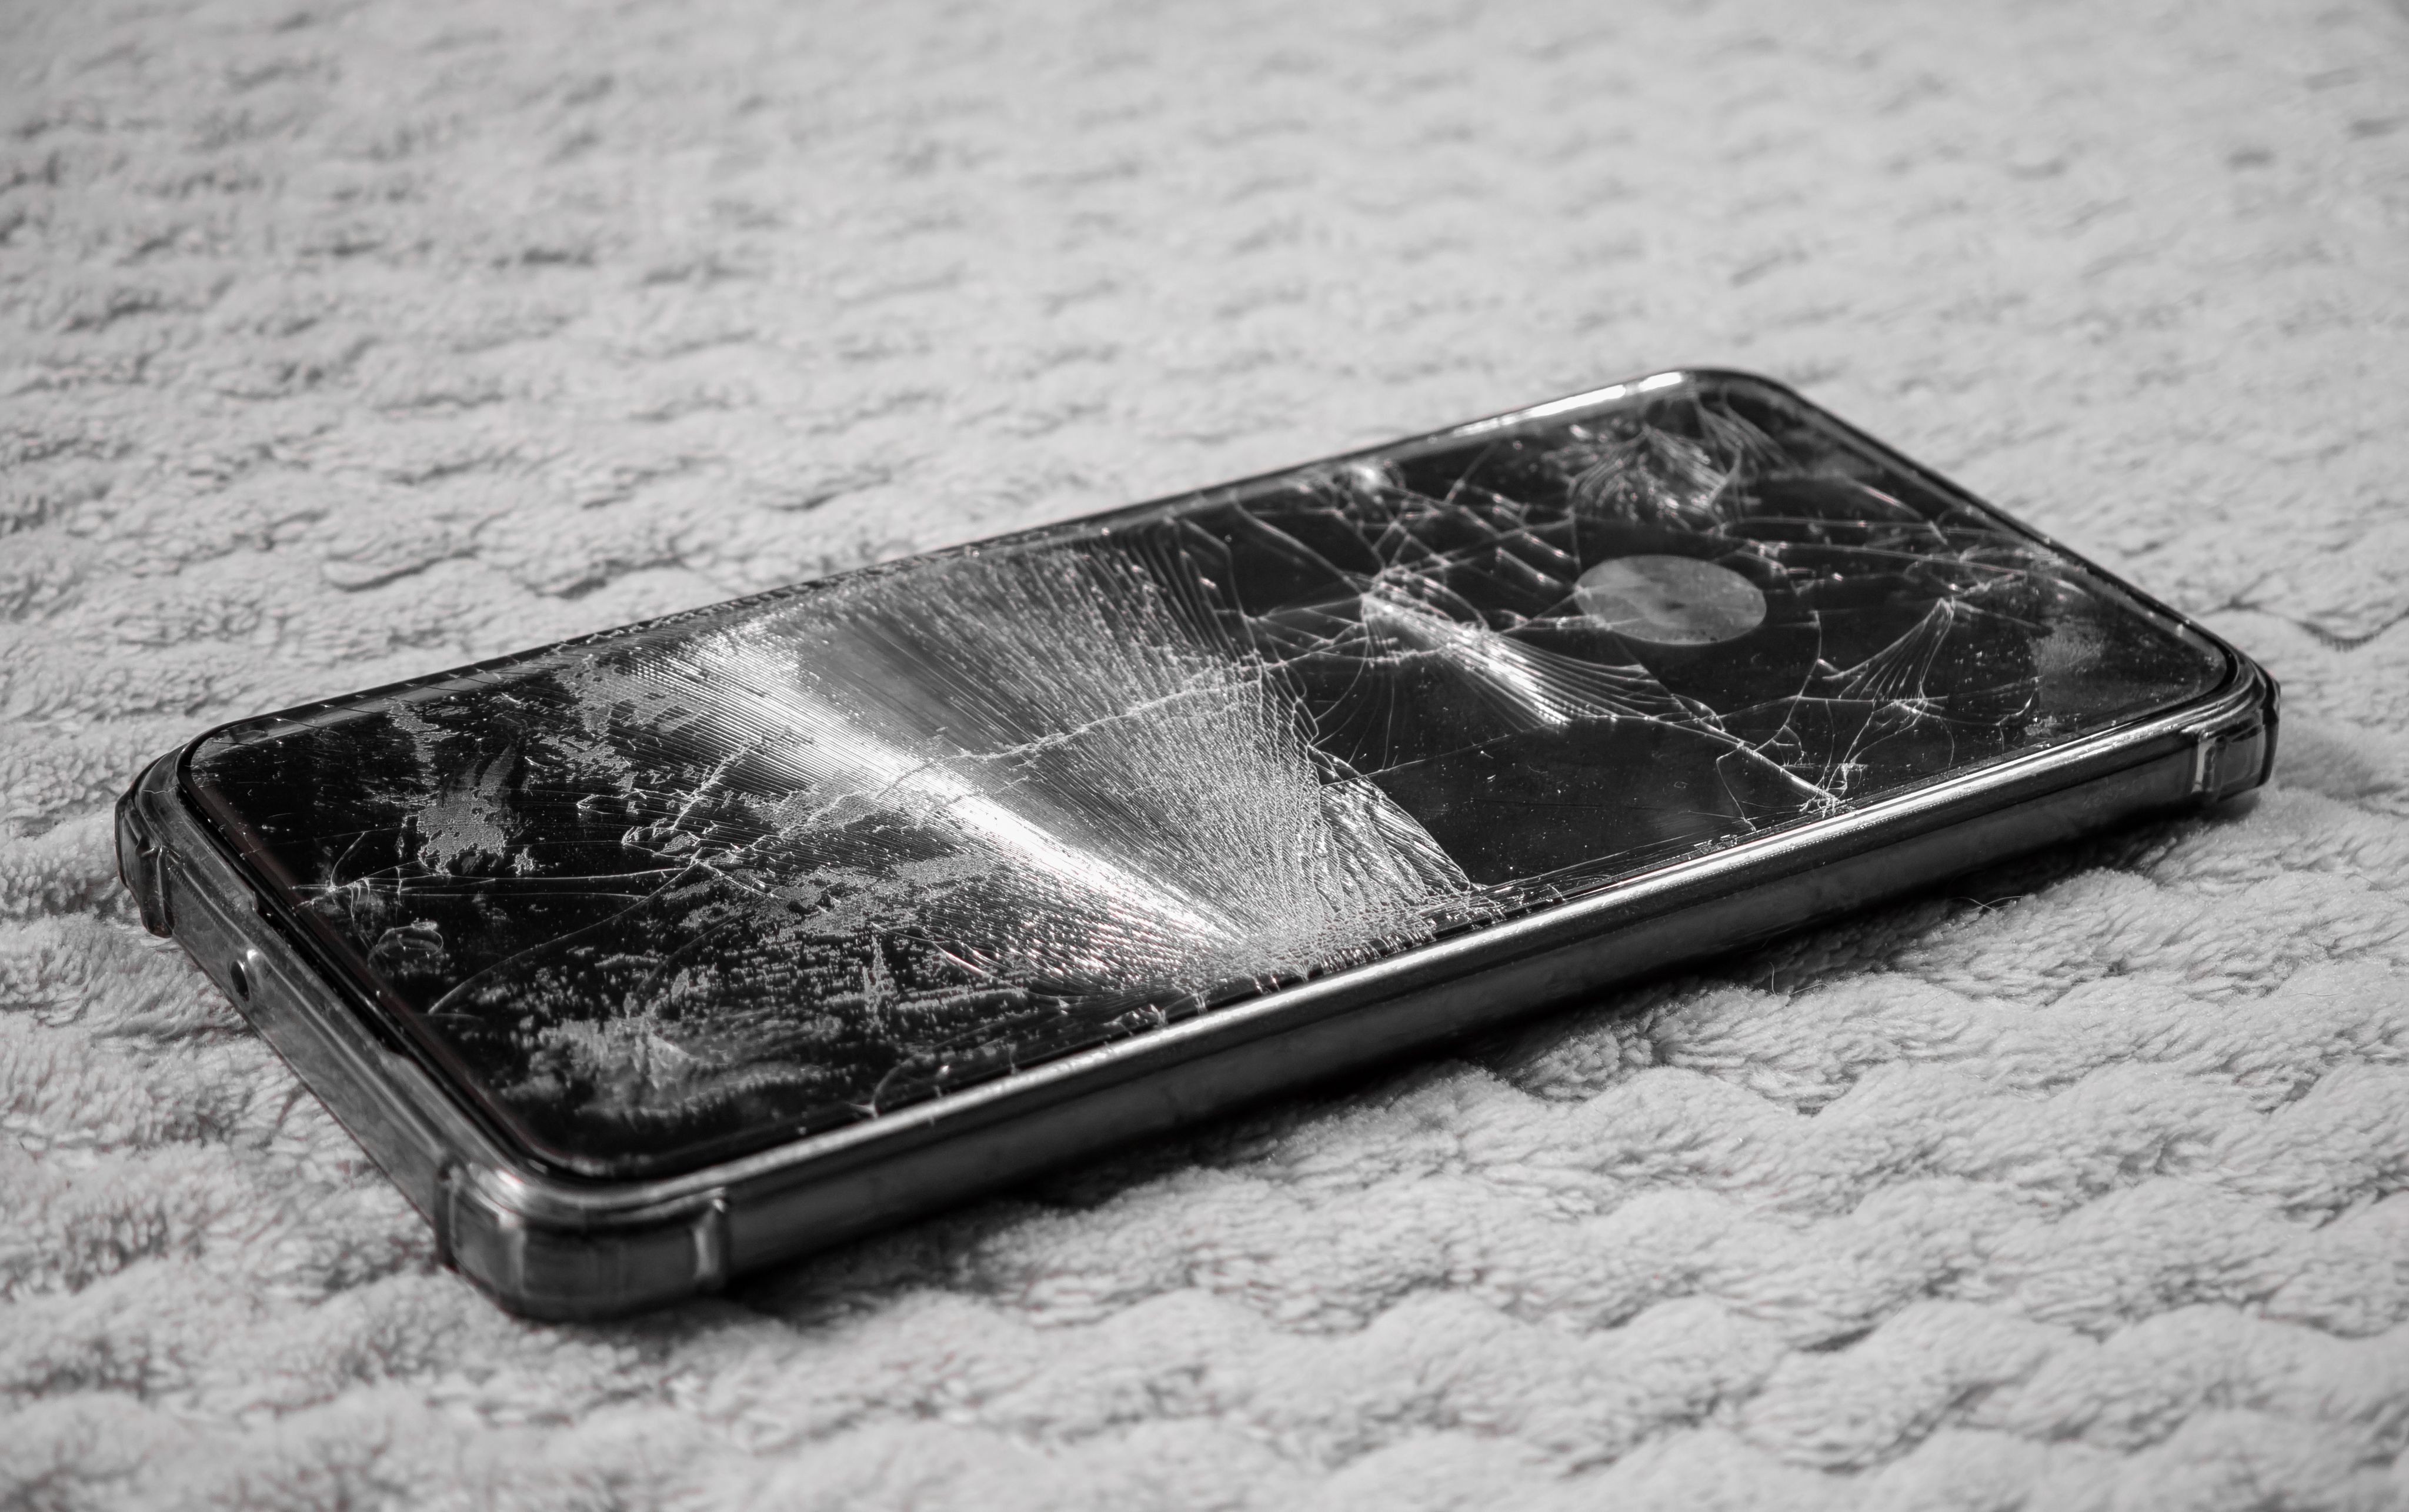
Introduction to DIY Cell Phone Screen Replacement
Accidentally dropping your phone and cracking the screen can be a frustrating experience. However, replacing your cell phone screen yourself can save you money and time. With the right tools and a bit of patience, a DIY screen replacement is entirely possible.
Gathering the Necessary Tools
Before you start, it's crucial to gather all the necessary tools and materials. Having everything you need within arm's reach will make the process smoother. Here's a list of essential items:
- Replacement screen
- Screwdriver set
- Plastic opening tools
- Suction cup
- Tweezers
- Adhesive strips
- Heat gun or hairdryer
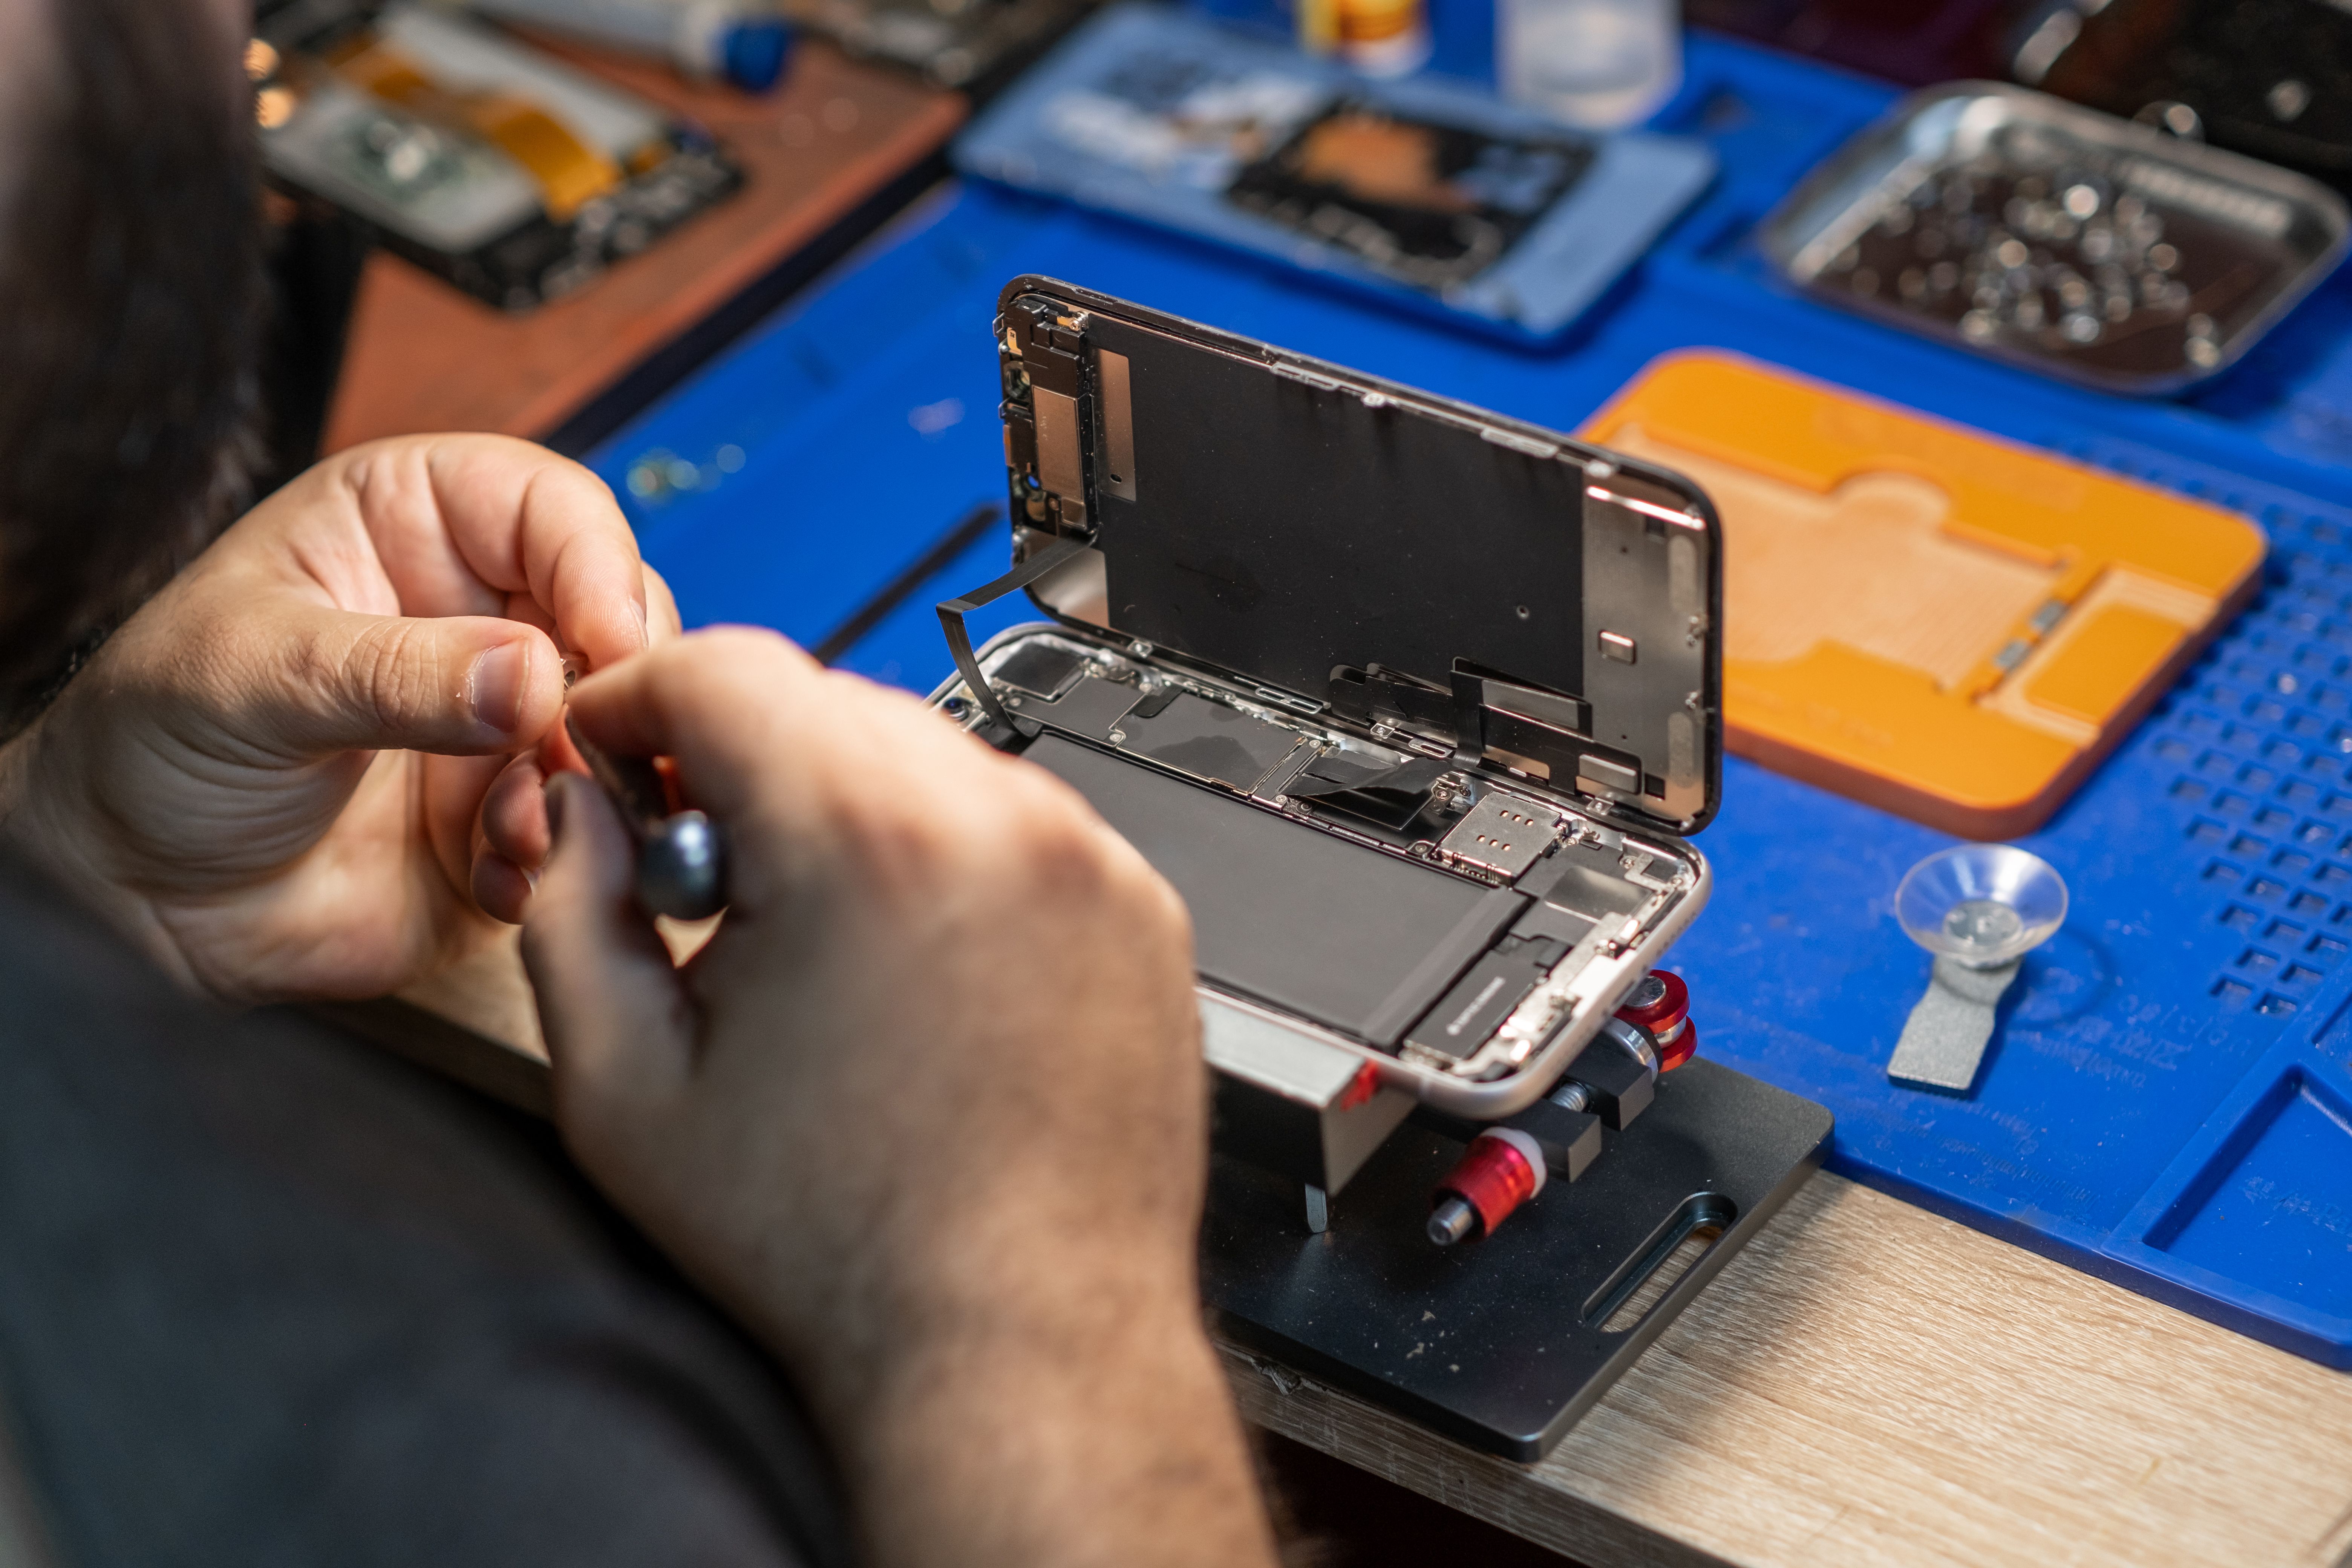
Step-by-Step Screen Replacement Process
Replacing a phone screen involves several precise steps. Follow this guide to ensure a successful repair:
- Power off your device: Ensure your phone is completely powered down before beginning disassembly.
- Remove screws: Use the appropriate screwdriver to remove the screws from the bottom of your device.
- Apply heat: Use a heat gun or hairdryer to gently warm the edges of the screen. This loosens the adhesive.
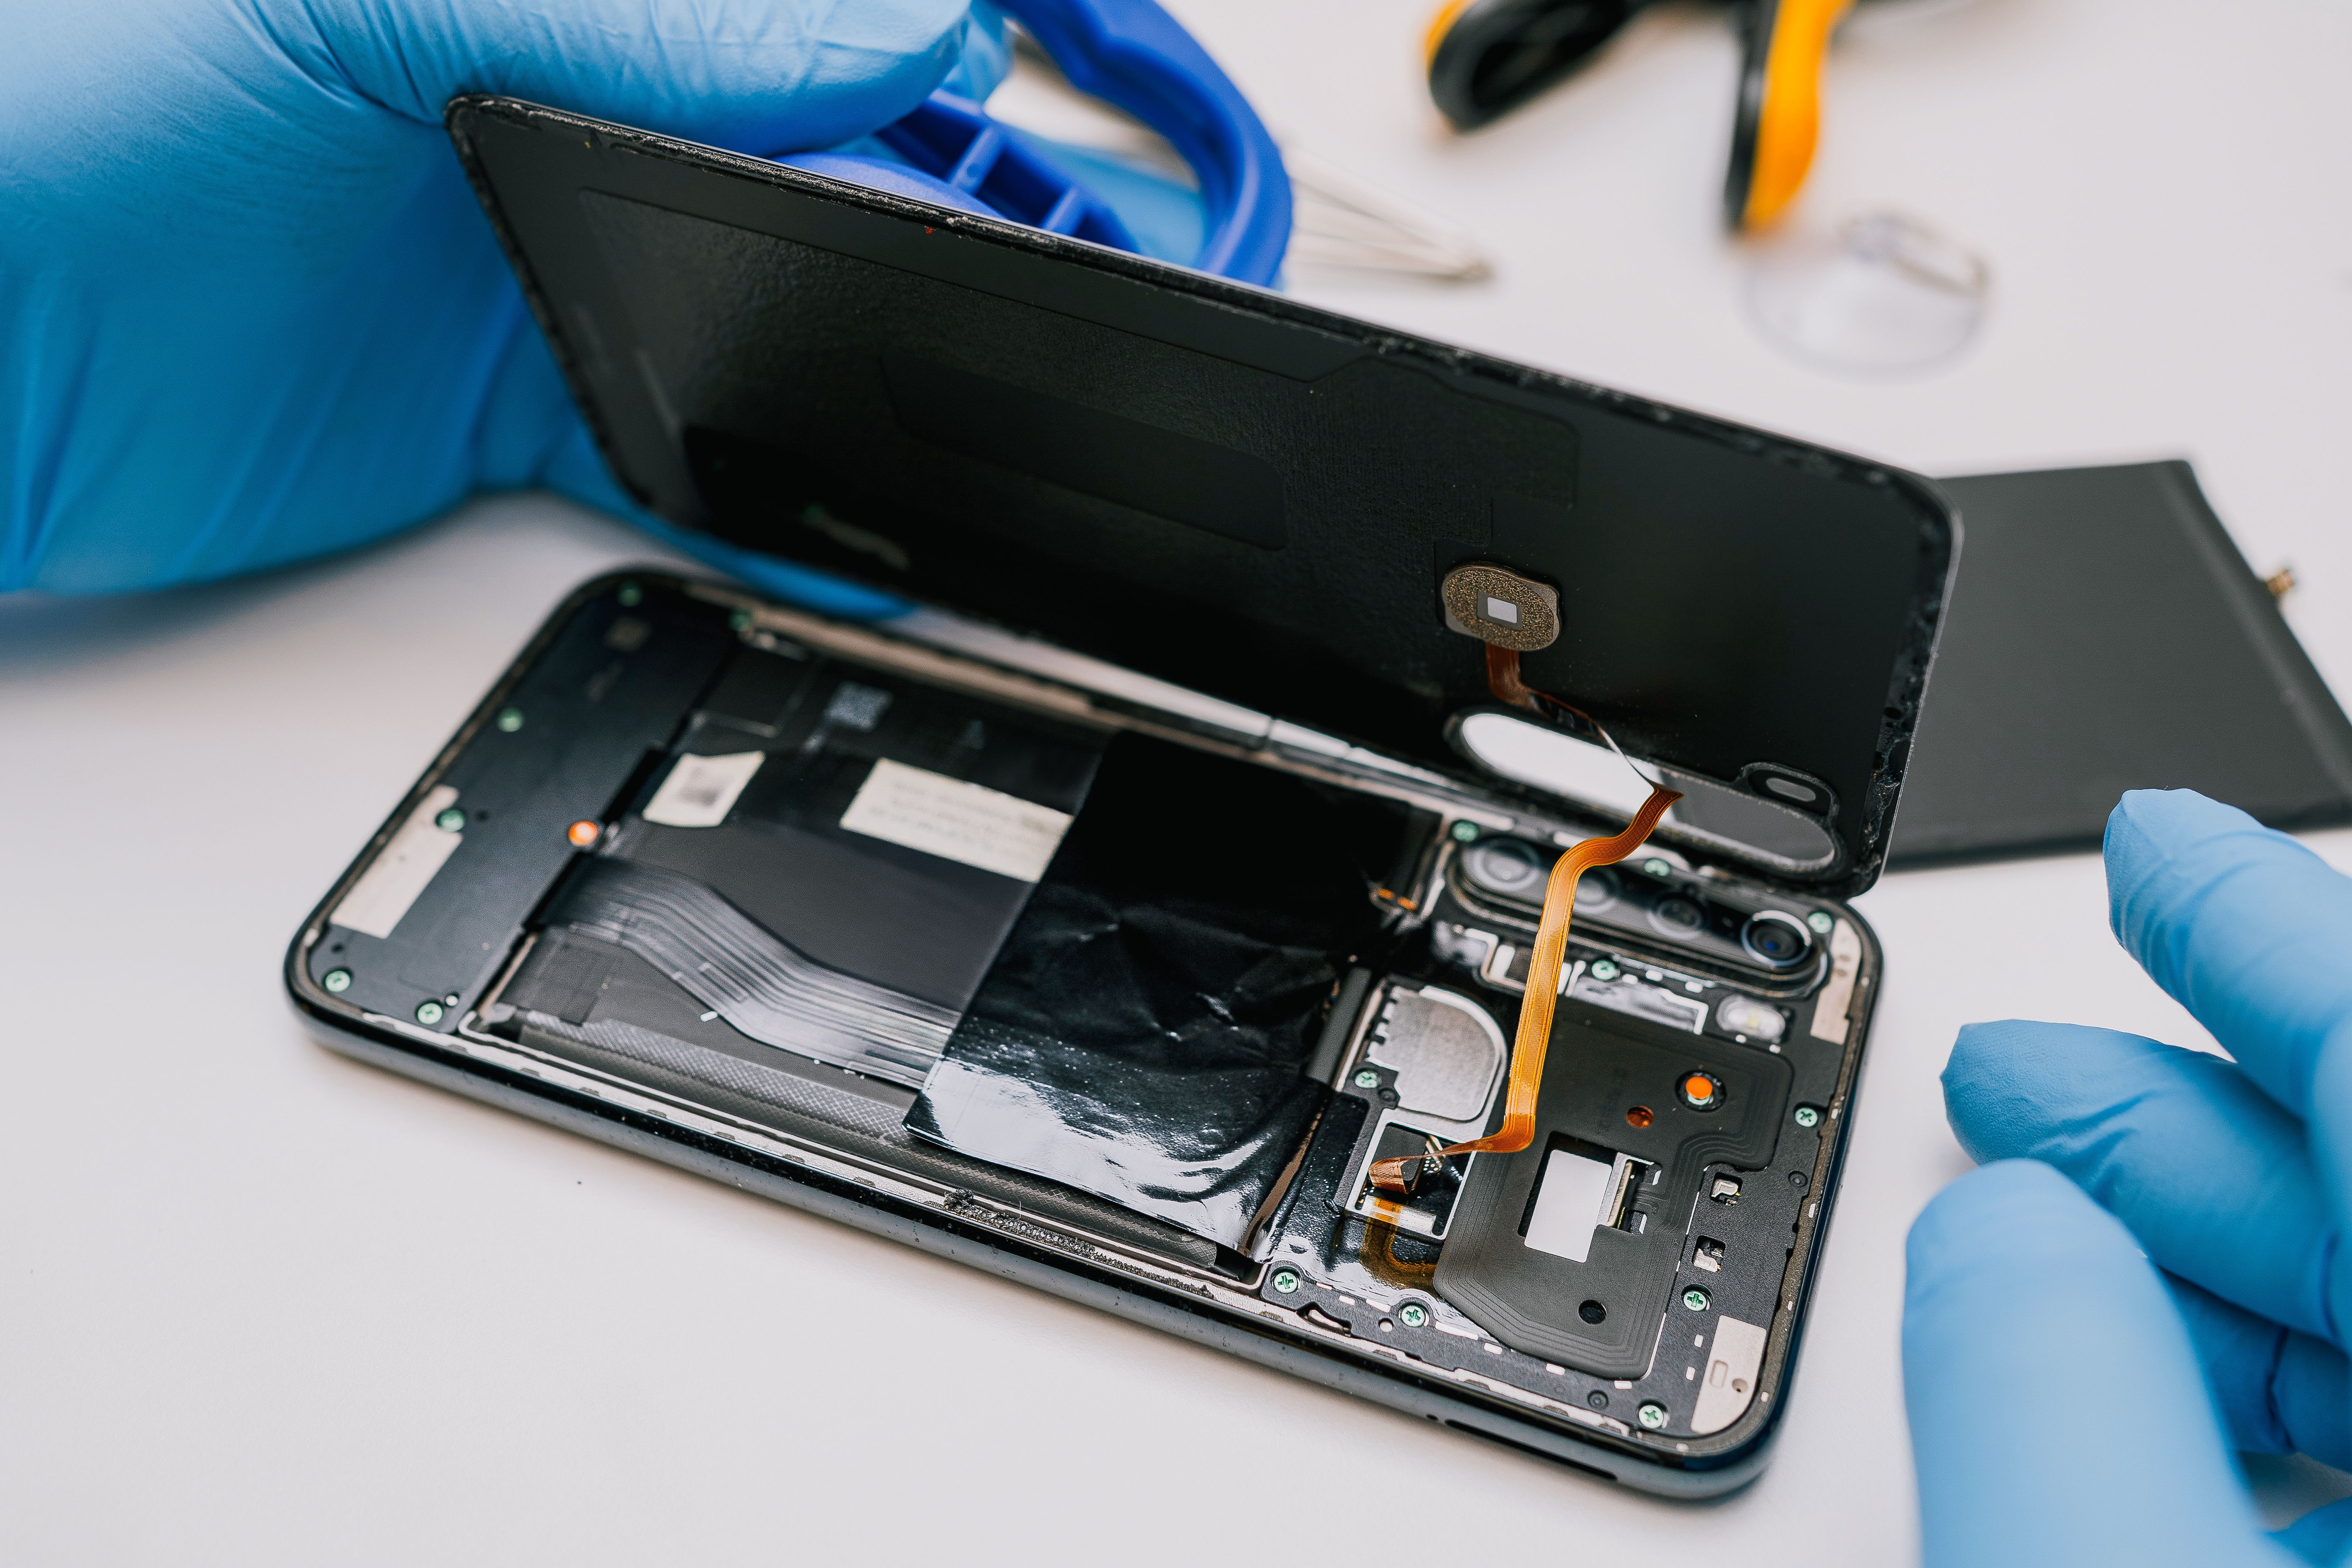
Detaching the Old Screen
Once you've removed the screws and applied heat, it's time to detach the old screen. Remember, this step requires patience and precision:
- Use a suction cup: Place a suction cup near the bottom edge of the screen and gently pull upward.
- Insert a plastic tool: Carefully insert a plastic opening tool between the screen and frame to lift it away.
- Disconnect cables: Use tweezers to disconnect any cables attaching the screen to the device.
Installing the New Screen
With the old screen removed, you're ready to install the new one. Follow these steps to complete the replacement:
- Position the new screen: Align the new screen with your device and connect any necessary cables.
- Secure with adhesive: Use adhesive strips to secure the new screen in place.
- Reattach screws: Replace the screws at the bottom of your device to hold everything together.
Testing and Final Touches
After installing the new screen, it's important to test your device to ensure everything functions correctly:
Power on your device and check for proper display functionality. Test touch sensitivity and check that all features are working as expected. If everything looks good, you've successfully completed your DIY cell phone screen replacement!
Conclusion: Embrace Your Newfound Skill
Congratulations on replacing your cell phone screen yourself! Not only have you saved money, but you've also gained a valuable skill. With practice, you'll become even more confident in tackling future DIY tech repairs.